# MongoDB Atlas
* Create your [MongoDB Atlas](https://www.mongodb.com/atlas/database) account
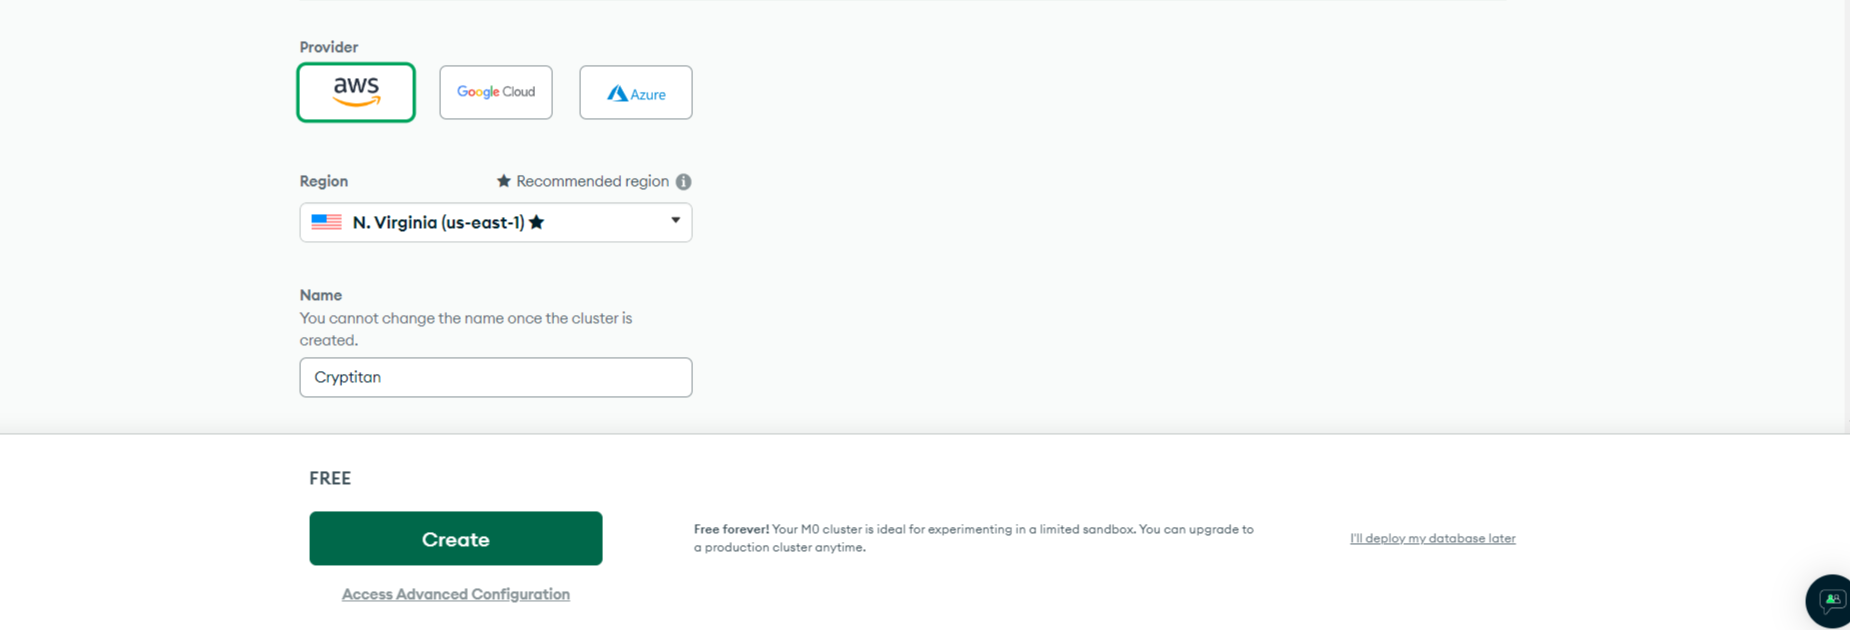
* You can start with selecting the free option:
* Pick the cloud provider, location and create the cluster:
* Make use of the *security* tab for creating user credentials for the database. Please note that these are not the same credentials you use for logging into MongoDB Atlas. These will be used for your application to connect to the database.
* Add the "Read and write to any database" built in role to the user created.
* Next, we have to define the IP addresses that are allowed access to the database. You should choose cloud environment and allow access from your server's IP address:
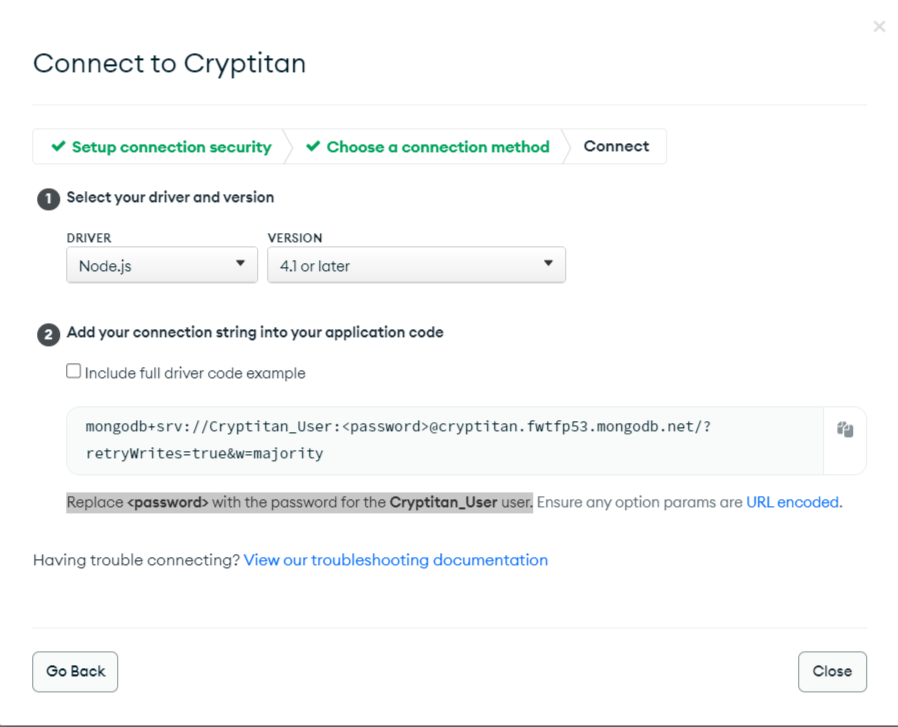
* Finally, we are ready to connect to our database. Start by clicking *connect*:
* And choose: *Connect your application*:
* The view displays the *MongoDB URL*, which is the address of the database that will be supplied to the environment variable `MONGODB_URL`. The address looks like this:
```
"mongodb+srv://Cryptitan_User:@cryptitan.fwtfp53.mongodb.net/?retryWrites=true&w=majority"
```
* Replace **\** with the password for the **Cryptitan\_User** user.
{% hint style="info" %}
After successful installation of cryptitan, you should check the database through mongodb atlas to ensure that the encrypted private keys are stored in the newly created database.
{% endhint %}
{% hint style="danger" %}
We strongly recommend you properly set up your mongodb atlas with regular backups, and you should **NEVER** attempt to alter the content of the database directly. We, the cryptitan team, **WILL NOT** be responsible for any form of data loss or corruption.
{% endhint %}